
Updated October 2026
Cut a Gem Workshop Setup: Machine Layout and Bottleneck Checks
A good Cut a Gem workshop setup is less about copying a perfect screenshot and more about making the geode-to-gem-to-buyer loop easy to observe. Put the input, grinder, conveyor, and selling point in a short readable line, then run the same affordable geode more than once. This guide shows how to build that baseline, find the idle point, and decide whether a move or upgrade actually improves the next completed cycle. The public game description supports the grinder, conveyor, geode, buyer-offer, and offline-production loop, but it does not publish a complete layout formula or permanent machine statistics.

Quick answer
Quick answer
Start with a straight, compact line: geode input first, grinder next, conveyor after the grinder, and a clear place to inspect the finished gem and buyer offer. Leave enough space to see where a geode stops moving. Run one affordable input repeatedly, record the visible result, then change only the suspected bottleneck. Upgrade when the same point blocks several completed cycles, not simply because another machine looks rarer. This setup gives you a repeatable test even when exact speed, purity, or profit values are not publicly verified.
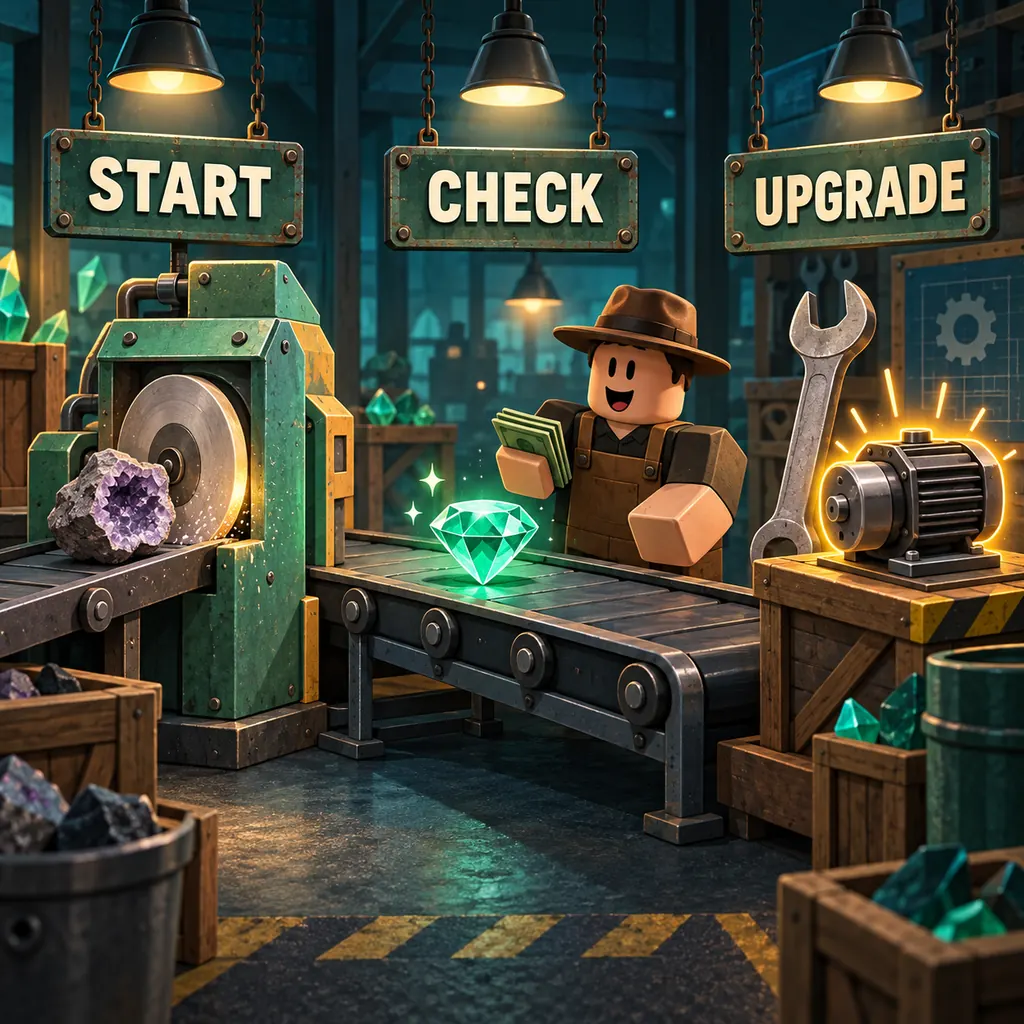
What the Cut a Gem workshop loop needs
What the Cut a Gem workshop loop needs
The useful starting point is the game loop, not a supposed best layout. Public descriptions of Cut a Gem describe placing a grinder and conveyor belt, processing geodes into gems, accepting a buyer offer, and continuing production while machines work offline. That establishes the jobs your layout must make visible: an input must reach the grinder, the processed result must leave the machine, and you must be able to inspect or sell the output without losing track of which run produced it.
Treat every item as a role. The geode is the input, the grinder is the processing step, the conveyor is the handoff, and the buyer or selling point is the observation point. A Totem can be a conditional modifier, while a code reward changes your budget rather than proving that a machine is best. The separate gear guide covers roles and upgrade order; this page stays focused on the physical flow and the checks that tell you where the flow stops.
A compact line is useful because it reduces hidden variables. If machines are scattered, a stopped geode may be a placement problem, a missing handoff, or an input that the current machine cannot process. A short line does not guarantee a higher payout. It gives you a baseline that another player can reproduce and that you can compare after an update.
| Stage | What to place or watch | Useful signal | Do not assume |
|---|---|---|---|
| Input | An affordable, repeatable geode | The same starting condition | A rare geode is automatically better |
| Process | Grinder or cutting machine | The input begins and finishes processing | An undocumented speed multiplier |
| Handoff | Conveyor or clear output path | The result moves without sitting idle | A longer belt increases value |
| Observe | Output area and buyer offer | Purity, name, and visible offer can be recorded | One lucky result is a formula |
| Context | Session date, code, Totem, update | Two runs can be compared honestly | An old screenshot is current data |
A simple Cut a Gem machine layout
A simple Cut a Gem machine layout
Build the first version with the fewest moving parts. Put your geode input on one side, the grinder in the middle, and the conveyor after the grinder. Keep the output and buyer interaction close enough that you can inspect the gem as soon as it exits. If the game allows a different orientation, the principle is unchanged: the next stage should be obvious, visible, and reachable without crossing the machine path.
Do not spend the first test session decorating the workshop or buying every available machine. A clean baseline makes a stopped item easier to diagnose. Take a quick note of which machine is waiting, which machine is occupied, and whether the finished gem can be found. That note is more valuable than a copied claim that a layout is universally optimal.
1. Mark the input side
Choose one place where the test geode always starts. Use an affordable input so you can repeat the run without changing your budget or rarity at the same time.
2. Place the grinder
Give the grinder a clear approach and an open exit. Watch the first item all the way through instead of assuming that a machine is active because it has power or an animation.
3. Add the conveyor
Continue the line from the grinder to the output area. Keep the handoff visible; if a result waits at the edge, record that as a possible bottleneck before moving anything else.
4. Reserve an inspection point
Leave space to read the result, buyer offer, purity, and inventory change. The inspection point is where you decide whether the next change helped.
How to test the workshop bottleneck
How to test the workshop bottleneck
The best Cut a Gem workshop setup is the one you can test. Start with a small run and watch the entire path. If the input never reaches the grinder, inspect the starting position and machine access. If the grinder works but the result does not move, inspect the exit and conveyor handoff. If the gem reaches the output but the offer is difficult to compare, the problem is observation rather than throughput.
Run at least two comparable trials before calling a change an improvement. Keep the geode type, general resource level, Totem state, and session context as similar as possible. Write down the visible output, purity or quality label if shown, buyer offer, and whether the machine waited. The game may change, and public sources do not verify every hidden statistic, so a dated mini log is safer than a permanent number copied from a video.
Change one variable at a time. Moving the grinder, replacing the conveyor, changing the geode, and redeeming a code in one session makes the result impossible to attribute. If a code gives you extra cash, record that context and treat the purchase as a new test. The goal is not to prove a universal profit formula; it is to learn which visible blockage is stopping your next repeatable cycle.
- Input — Use the same affordable geode for the first comparison.
- Position — Record where the input starts and where the machine stops.
- Machine state — Note waiting, processing, blocked, and finished states.
- Output — Record result name, purity or quality, buyer offer, and inventory change.
- Context — Write the date, update context, code reward, and Totem state.
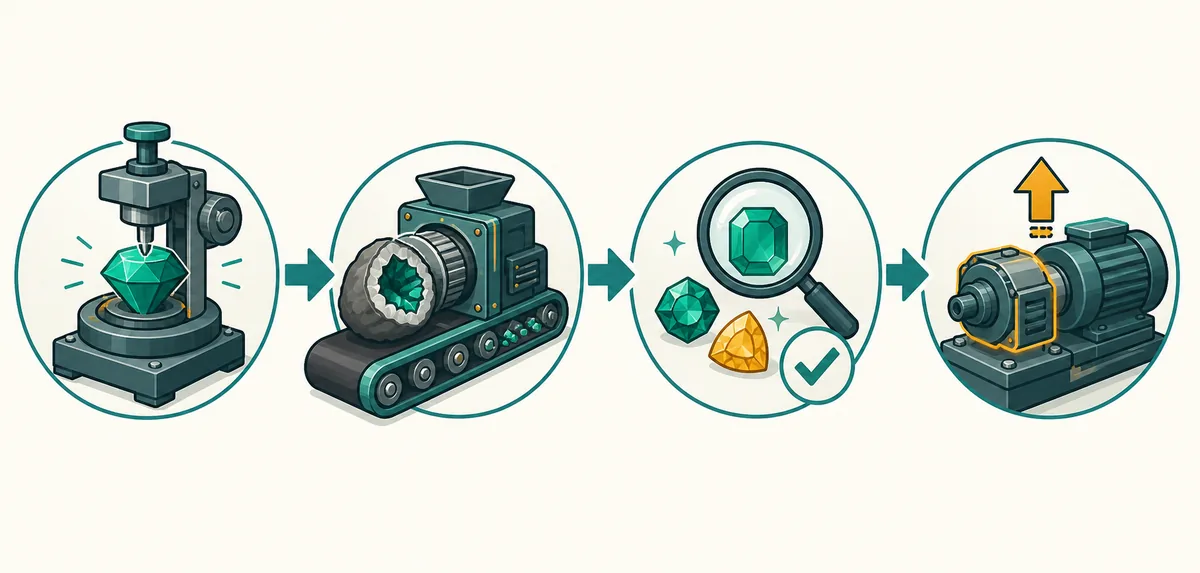
When to move a machine or buy an upgrade
When to move a machine or buy an upgrade
Move a machine when the evidence points to a visibility or handoff problem. An input that cannot reach the grinder, an output that catches on the conveyor, or a buyer offer hidden behind a crowded area can make a good machine look weak. Fix the path first, then repeat the same test. If the same machine remains the point that blocks several cycles, an upgrade may be justified.
The price of an upgrade is only one part of the decision. Compare the cost with the number of completed cycles you can actually observe, the resources you have, and the role the upgrade serves. A faster machine is not automatically useful if the conveyor or input supply is still idle. A rare Totem is not automatically a layout upgrade, and a code reward should be recorded as budget context rather than treated as proof of a multiplier.
After a Roblox update, rebuild the baseline before trusting an old layout. Check the current experience identity, repeat the affordable test, and compare the visible path. This guide deliberately avoids exact speed, drop, purity, or cash formulas that are not supported by a current public source. Use the official experience and your own dated observations for volatile details.
| Symptom | First change | Second check | Page boundary |
|---|---|---|---|
| Input never starts | Clear the approach and reset the input point | Try the same geode once more | Not a drop-rate claim |
| Grinder works, output waits | Inspect the exit and conveyor alignment | Compare a shorter path | Not a speed formula |
| Output arrives, offer unclear | Create a dedicated inspection space | Record the visible offer | Not a fixed value list |
| Several cycles stop at one part | Compare the cost of that role's upgrade | Change only that role | Use the gear guide for broader priorities |
Common Cut a Gem workshop setup mistakes
Common Cut a Gem workshop setup mistakes
A common mistake is copying a layout without copying the conditions. A screenshot may use a different geode, a different update, a code reward, or a Totem. It can still be useful as an idea, but it cannot prove that the same placement will produce the same value on your account.
Another mistake is changing too much at once. If you move every machine, buy a new tool, switch geodes, and redeem a code before checking the result, you have no clean comparison. Keep the first workshop plain, use a repeatable input, and write one sentence about the observed blockage before making the next change.
Finally, avoid confusing a tidy workshop with a profitable one. A compact line helps you see the process; it does not create a guaranteed multiplier. Use the geodes page for input comparisons, the totems page for conditional modifiers, the gear guide for upgrade roles, and the codes page for dated reward status. This page is the bridge that explains how those decisions meet in one physical loop.
- Copying a screenshot — Use it as a layout idea, then test it under your own current conditions.
- Hiding the output — Keep the buyer or inspection point visible so the result can be recorded.
- Changing four variables — Move one role, run the same input, and compare before the next change.
- Assuming rarity wins — Compare completed cycles and visible offers instead of item color alone.
- Skipping the date — Record when the test happened so an update does not make it look permanent.
Cut a Gem workshop setup FAQ
Cut a Gem workshop setup FAQ
What is the best Cut a Gem workshop setup?
Use a short, visible line from geode input to grinder, conveyor, output, and buyer offer. The best layout for your account is the one that lets you repeat a comparable run and see where it stops; public sources do not verify one universal arrangement.
Where should I place the grinder and conveyor in Cut a Gem?
Place the grinder after a clear input approach and the conveyor after the grinder, with an open output path. Keep the stages visible so a waiting item points to a placement or handoff problem instead of an unexplained failure.
How do I know which workshop machine is the bottleneck?
Watch one affordable geode through the whole path. The first stage that stays idle, blocks the handoff, or hides the result is the first place to test. Repeat the run before buying an upgrade.
Does a longer conveyor make more money in Cut a Gem?
There is no source-checked rule here that a longer belt increases value. A longer path can make a result harder to observe, so start compact and measure the visible offer before changing length.
Should I use a Totem while testing a workshop layout?
Only if you can keep its state the same across comparisons. Record the Totem as context and test one layout change at a time; the Totems guide covers effect and placement questions separately.
Can a Cut a Gem code replace a workshop upgrade?
A code may change your available budget, but it does not prove which machine or placement is best. Record the reward, then spend it on the role that blocks your next completed cycle.
Is this an official Cut a Gem machine layout?
No. This is an independent fan guide. The official Roblox experience link identifies the game, while the layout and test sequence are editorial recommendations based on the public workshop loop.
Summary
Summary
A reliable Cut a Gem workshop setup is a visible baseline: input, grinder, conveyor, output, and buyer offer in a short line. Run the same affordable geode more than once, record the first idle or blocked stage, and change one variable before judging an upgrade.
Use this page with the gear guide, geodes comparison, Totems guide, codes tracker, and beginner route. The public loop supports the structure, but exact speed, purity, value, drop, and profit claims still need a current in-game check. A dated observation is more useful than an undated promise.
Continue with the guide that matches your next question:
Use the workshop priority helper
Compare geodes and output checks
Sources and evidence limits
Sources and evidence limits
The sources below support the experience identity and the high-level workshop loop. They do not establish a permanent best layout, exact machine speed, hidden multiplier, drop rate, purity formula, or profit guarantee.