Last checked September 22, 2026
Cut a Gem Totems Guide: Effects, Placement & Upgrade Priorities
Looking for a Cut a Gem totems guide that does more than copy a number list? The useful answer is to treat each totem as a testable production modifier. Public guides report growth, grinder-speed, rich-customer, and value effects, but the game does not expose a complete official stat table that this site can independently verify. This page separates reported values from practical advice, then gives you a repeatable way to decide whether a totem is helping your current workshop.
Quick answer
Quick answer
Start with the totem that matches your bottleneck, not the most expensive name. If raw growth is the goal, test a Growth Totem against the same geode batch. If the grinder is holding up the line, test a Grinder Speed Totem. If your output already moves smoothly, save for gear or a better geode route instead of assuming that every totem stacks or pays back immediately. The exact costs and percentages below are third-party reports, so confirm the item, price, and result in your own Roblox session before committing a large amount of cash.
What do totems do in Cut a Gem?
What do totems do in Cut a Gem?
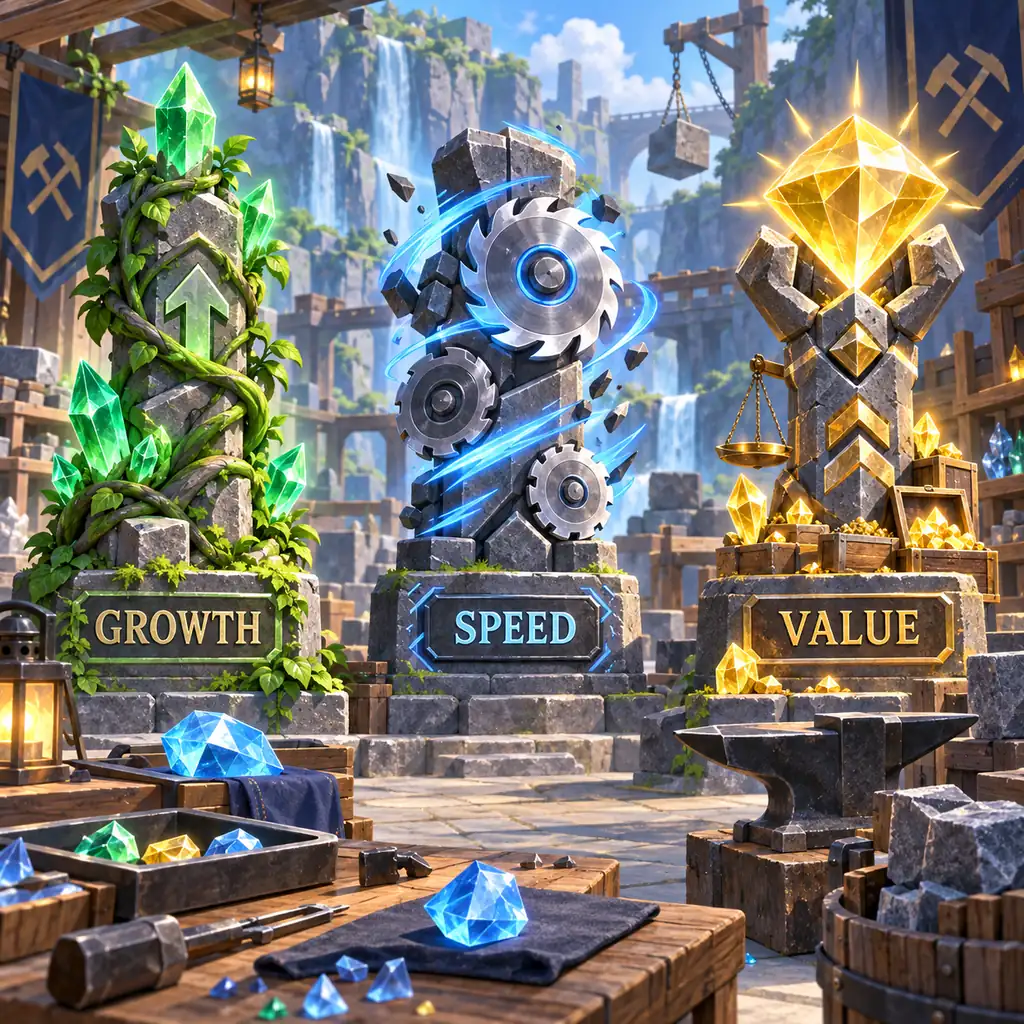
A totem is best understood as a local modifier around a repeatable workshop loop. It may influence how often a growth outcome appears, how quickly a grinder processes material, how often a valuable customer appears, or how much value a result can produce. That description is intentionally narrower than a promise of profit: a modifier only matters when it affects the step that currently limits your run.
For example, a growth effect is difficult to judge if your geode input is inconsistent or the grinder is idle. A speed effect is difficult to judge if there is no queue of material. A value effect is difficult to judge after one lucky sale. The right comparison is one variable at a time: use the same gear, similar inputs, the same machine state, and several batches before deciding that a totem changed the result.
Cut a Gem totem effects and reported values
Cut a Gem totem effects and reported values
The table below is a source-labeled working reference, not an official drop table. Public guides commonly report the following names and values. Treat the cost and percentage columns as claims to check in-game, while the use-case column is an editorial decision aid based on the workshop loop.
| Totem | Reported cost | Reported effect | Best test case |
|---|---|---|---|
| Small Growth Totem | $250K | 15% chance to make a result 15% larger | Early growth test when input and grinder flow are stable |
| Medium Growth Totem | $50M | 30% chance to make a result 30% larger | A later growth test when small gains are already measurable |
| Big Growth Totem | $1B | 50% chance to make a result 60% larger | Only after the workshop can absorb a very large cash spend |
| Increase Rich Customer Totem | $12M | Reported chance modifier for a richer customer | A buyer-offer test with repeated sales, not one sale |
| Grinder Speed Totem | $5B | Reported 50% chance of a 5% faster grind | A long queue where grinder time is the visible bottleneck |
| Radioactive Totem | $5B | Reported 8% chance of a 2.5× value result | A controlled value test with identical inputs and buyer checks |
How to place and test a Cut a Gem totem
How to place and test a Cut a Gem totem
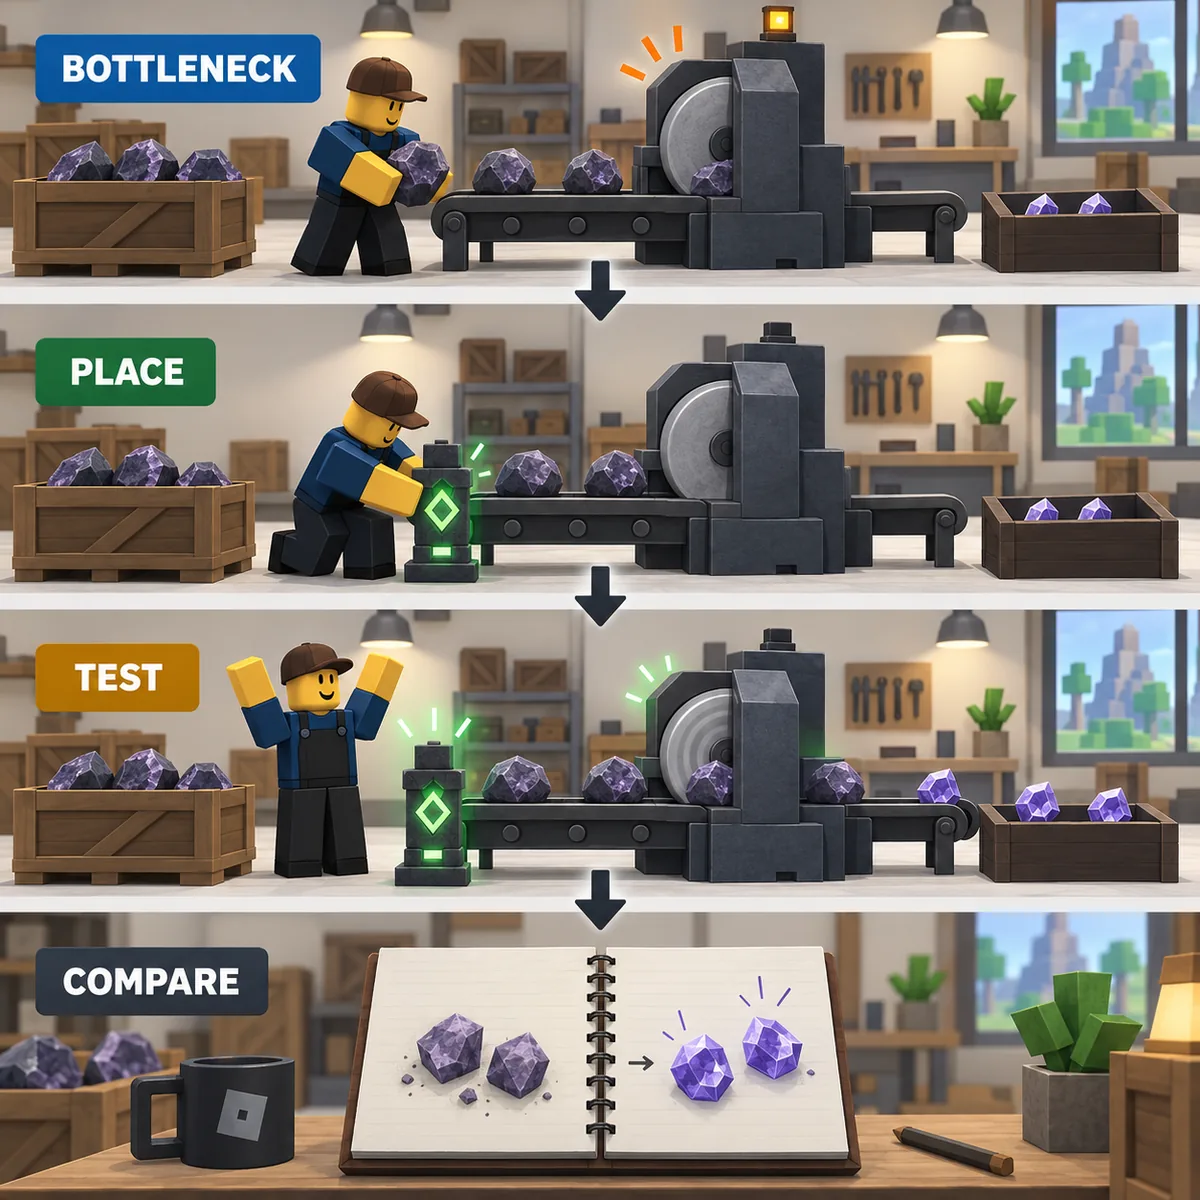
A totem placement guide is more useful when it tells you how to learn, not just where to stand. The following test keeps the comparison readable and avoids turning a single lucky output into a permanent tier list.
-
1. Identify the bottleneck
Watch one normal run. Is material waiting for the grinder, is the grinder waiting for input, or is the buyer offer the weak step? Write down the limiting step before buying anything.
-
2. Keep the baseline stable
Choose a repeatable geode type, keep your gear and machine state unchanged, and record a small baseline such as batch count, grind time, output size, and buyer offer.
-
3. Place one totem
Place only the totem you are testing near the part of the loop it is meant to affect. Do not change gear, geode, machine, and totem at the same time.
-
4. Run several comparable batches
Repeat the same input and record the result. A single large gem or rich customer is not enough evidence for a percentage claim, especially when the reported effect includes a chance.
-
5. Compare before spending again
Compare the median or typical result, not only the best result. Keep the totem when it improves the bottleneck you care about; move it or delay the next purchase when it only adds a theoretical upside.
Totem or gear first? Use the bottleneck test
Totem or gear first? Use the bottleneck test
There is no universal best totem while public values and the full game formula remain incomplete. Use this decision table to choose the next experiment without treating the most expensive item as an automatic upgrade.
| Your situation | First test | Why it fits | Do not assume |
|---|---|---|---|
| The grinder has a visible queue | Grinder Speed Totem or grinder-focused gear | Both choices target processing time | A reported chance or small speed percentage will not fix an empty input line |
| You want larger outputs | Small or Medium Growth Totem | A lower-cost test can show whether growth is measurable | One unusually large result proves nothing by itself |
| Buyer offers are the weak step | Increase Rich Customer Totem plus repeated sales notes | The test matches the buyer stage of the loop | A rich customer chance is not a guaranteed price multiplier |
| You are still unlocking the workshop | Gear, machines, and reliable geodes first | Stable inputs make every later totem test easier to read | A high-cost totem is not a beginner requirement |
What is not verified yet
What is not verified yet
This guide does not claim that the reported totem prices, odds, radius, stacking rules, reclaim behavior, offline behavior, or exact multipliers are official. Public pages can disagree, and a Roblox update can change an item without changing every copied guide at the same time. The safest wording is therefore “reported” until the game shows the value in a current session or the developer publishes a reliable table.
Do not use this page as a precise profit calculator. A totem can change one stage while another stage becomes the new bottleneck. If you want a useful record, capture the date, item name, cash cost, gear, input type, machine state, number of batches, output range, and buyer result. That record is more durable than a screenshot with no context and gives you a better basis for deciding whether the next upgrade belongs on the totem, gear, or geode side.
FAQ
Cut a Gem totems FAQ
What is the best totem in Cut a Gem?
There is no evidence-backed universal winner. Pick the totem that matches the current bottleneck: growth for output-size testing, speed for a real grinder queue, or rich-customer/value effects for repeated buyer tests. Treat community prices and percentages as reported until you verify them in-game.
What do totems do in Cut a Gem?
They are reported to modify parts of the workshop loop, including growth outcomes, grinder speed, richer customers, or result value. The exact behavior may depend on chance, placement, input, and update state, so this guide recommends controlled comparisons rather than a guaranteed multiplier claim.
Should I buy a totem before upgrading gear?
Usually not if your gear or machine is still unstable. Reliable inputs make a totem easier to measure. Buy or test a totem first when you can name the bottleneck it targets and can afford several comparable batches without delaying a more basic unlock.
Do Cut a Gem totems stack?
The full stacking rule is not verified here. Do not assume two totems add their percentages, multiply each other, or affect the same radius. Test one item first, then record the result before trying a combination.
Are the totem prices and effects official?
Not on this page. They are labeled as third-party reported values from public guide coverage. Use the list to decide what to check, then confirm the price and effect in your current Roblox session.
How should I test a totem placement?
Record a baseline, keep the same gear and inputs, place one totem near the stage it should affect, run several similar batches, and compare typical results. Move the totem or postpone the purchase if it does not improve the bottleneck you recorded.
Summary: test the modifier, not the hype
Summary: test the modifier, not the hype
The practical Cut a Gem totems answer is a decision process. Start with a bottleneck, keep a baseline, test one totem, and compare several similar batches. Growth, speed, rich-customer, and value categories can all be useful, but no public list should replace an in-game check when the price, chance, stacking, or radius is not verified.
For early progression, stable gear, machines, and geode inputs usually make the next totem decision clearer. Once your workshop has a repeatable loop, a totem becomes easier to judge because you can see whether it changed the step that was actually slowing you down.
Continue with the related Cut a Gem routes below:
Gear and workshop upgrade guide
Sources and evidence boundary
Sources and evidence boundary
The public totem names, costs, and reported effects were checked against the sources below on September 22, 2026. The official Roblox page identifies the experience; the guide source supplies third-party totem reporting. Neither source is treated as a complete official stat database.