
Reviewed October 13, 2026
Cut a Gem Roblox Beginner Guide: First Workshop Route
New to Cut a Gem on Roblox? The fastest way to learn is to make one small production line work before you chase rare geodes, codes, or a dramatic upgrade. This beginner route gives you an observable order for the first session: place the available equipment, feed one affordable geode, confirm that a buyer accepts the finished gem, and spend only when you can name the bottleneck. The game can change after updates, so the live menu and your own run are more reliable than an old fixed number.
Quick answer
Quick answer
For a first Cut a Gem Roblox run, build one simple line, process an affordable geode, sell one finished gem, and write down where the line stops. Upgrade the step that actually slows the loop. Keep codes, rare materials, Totems, and Rebirth decisions separate until the live menus explain their requirements. This route avoids invented profit formulas and gives you a repeatable baseline for the next run.
First-session checklist for a Cut a Gem Roblox beginner
First-session checklist for a Cut a Gem Roblox beginner
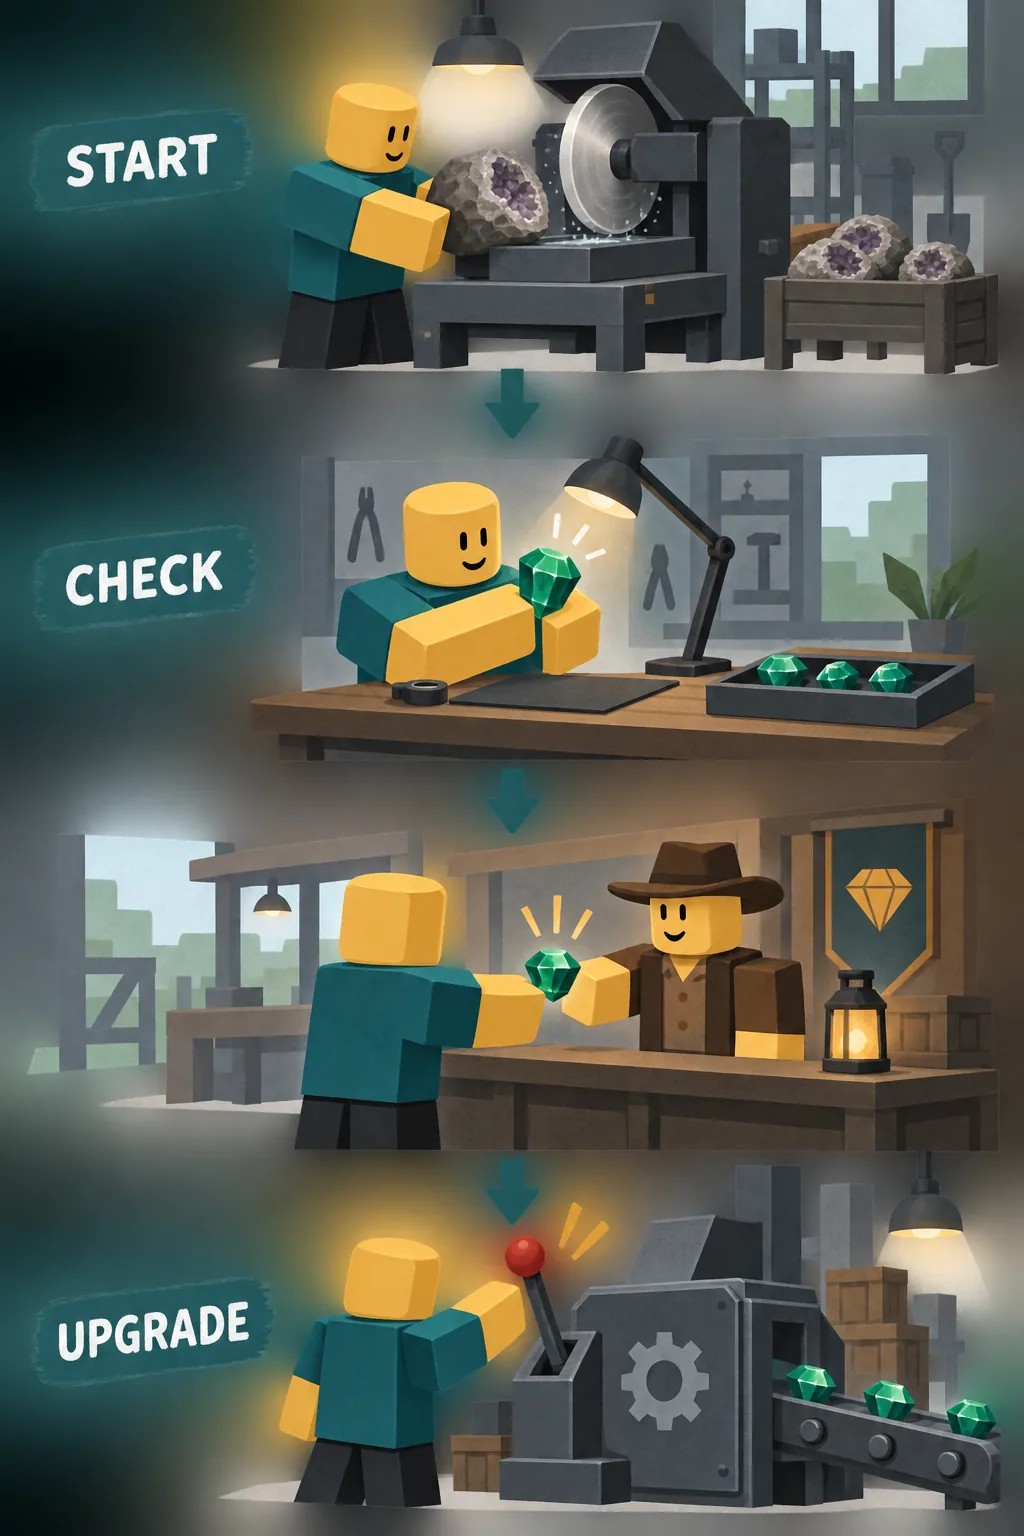
Start by reading the current shop and the labels on the equipment you can actually access. Do not copy a late-game layout from a video and assume every piece is unlocked for a new account. Your first objective is not maximum cash; it is a complete, repeatable cycle from geode input to a buyer. A short working line teaches more than a large layout that cannot be diagnosed.
Place only the pieces needed for one path. Feed a low-risk geode, watch it move through the grinder or cutter, and confirm that the finished gem reaches the selling step. If the line stops, write down the exact station and message you see. That note becomes the first useful data point for this Cut a Gem beginner guide and prevents you from buying a random upgrade because its price looks impressive.
- Read the live menu — Check the current equipment names, prices, and unlock conditions in your own session.
- Build one line — Use the smallest layout that moves one geode through processing and toward a buyer.
- Confirm a sale — Wait for the buyer interaction or sale result before expanding the workshop.
- Record the stop — Note the station, message, and item involved whenever the loop stalls.
What should a beginner buy first?
What should a beginner buy first?
The first purchase should remove a visible restriction. If a machine is waiting for input, adding speed will not fix the missing geode path. If the conveyor is full because the buyer step is slow, another grinder may only create a larger queue. Compare the next purchase with the line you can observe, not with an unverified tier list.
Gear, geodes, machines, and Totems solve different problems. Gear can make repeated cuts easier, a machine can remove a throughput block, and a better geode can change the value of one run. Totem effects may be situational until you can verify their wording and result. Use the table as a decision filter rather than a universal order.
| Purchase | Buy now when… | Wait when… |
|---|---|---|
| Gear | The bonus helps every run and the current tool is the clear slow step. | The line is blocked by input, space, or buyer timing instead. |
| Grinder or conveyor | The same station stops the line over several cycles. | You have not completed one clean cycle yet. |
| Higher-tier geode | Your current equipment can process it and the value difference is observable. | The item is locked, unverified, or likely to jam the line. |
| Totem | The effect is visible and fits the current bottleneck. | The description or persistence rule is unclear. |
Run the geode-to-buyer loop before chasing rarity
Run the geode-to-buyer loop before chasing rarity
Cut a Gem is easiest to understand as a loop: obtain a geode, process it with the available equipment, inspect the result, and accept a buyer offer before reinvesting. A rare-looking item is not automatically the best first choice if it costs more, needs a locked machine, or makes it harder to see where the line fails. Keep your first test boring enough that you can repeat it.
For a simple example, imagine that a starter geode reaches the grinder but never reaches the buyer. The useful conclusion is not that the geode is worthless. The useful conclusion is that the current line has a transport, placement, or buyer step to inspect. After you fix that step, compare two or three cycles. Only then decide whether a different geode or gear bonus deserves the next purchase.
Load one affordable geode
Use an item the current shop and inventory clearly allow. Keep the test cost small.
Watch every station
Check input, processing, output, and buyer timing instead of looking only at the final number.
Compare repeated cycles
Run the same setup more than once so a single lucky result does not set your plan.
Spend after the comparison
Choose the upgrade that improves the observed block or the value you can verify.
Use the bottleneck, not the price tag, to choose upgrades
Use the bottleneck, not the price tag, to choose upgrades
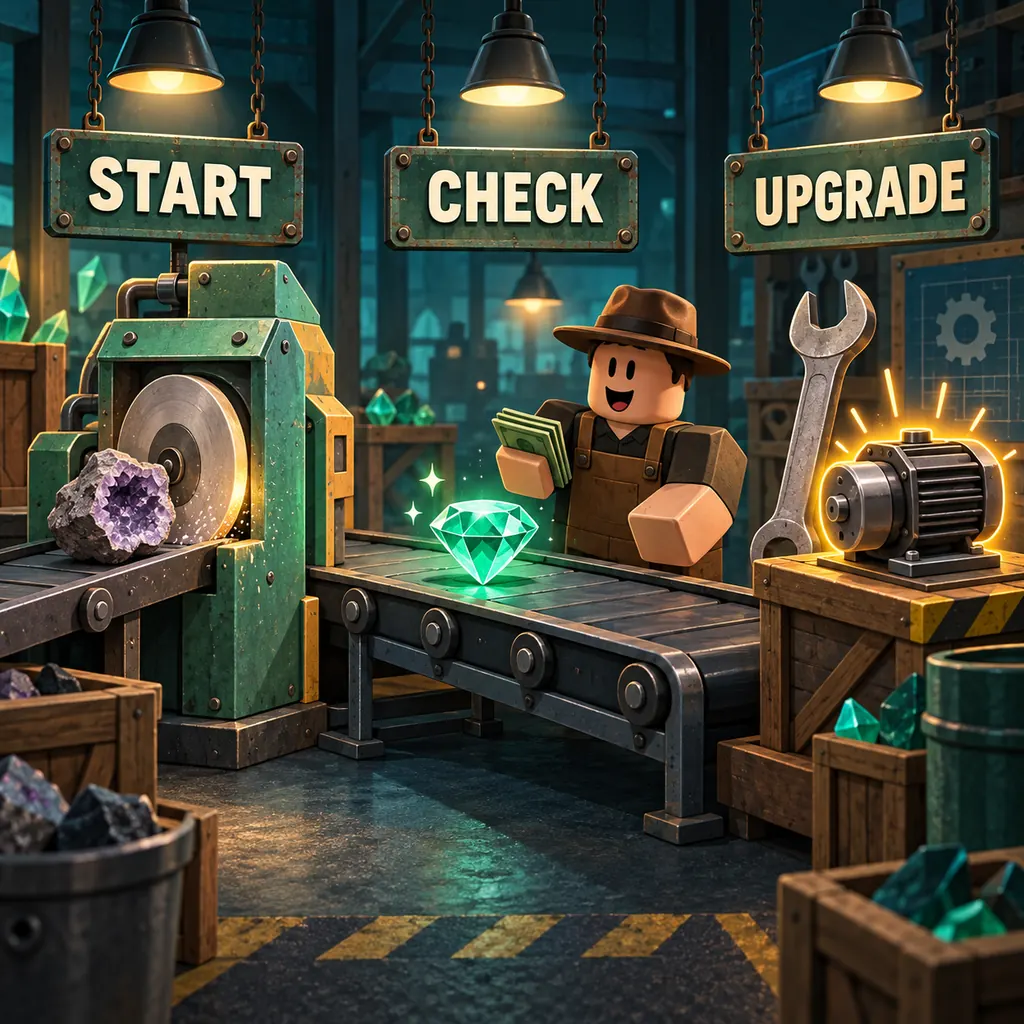
A bottleneck is the step that repeatedly limits a working line. It may be an empty input, a machine that cannot accept the item, a conveyor gap, a buyer delay, or a resource you have not unlocked. Find it by watching several cycles and changing one thing at a time. This makes your early game route easier to reproduce after a server hop or an update.
Do not treat an expensive item as proof that it is the right upgrade. A cheaper placement fix can outperform a higher number when the line is not using its capacity. Likewise, a visible improvement in one cycle is not enough to claim an exact profit multiplier. Record what changed, how many cycles you watched, and whether the same problem returned.
| Symptom | Check | Next move |
|---|---|---|
| Geode never starts | Input path, unlock text, and placement distance. | Fix the path or use an allowed starter item. |
| Machine waits | Whether the previous station sends output consistently. | Repair the upstream step before buying speed. |
| Gem stops before sale | Conveyor direction, gap, and buyer availability. | Complete the transport path and test again. |
| Value feels random | Purity, rarity, item, and cycle count. | Log several comparable runs before judging value. |
Beginner mistakes and safe reset boundaries
Beginner mistakes and safe reset boundaries
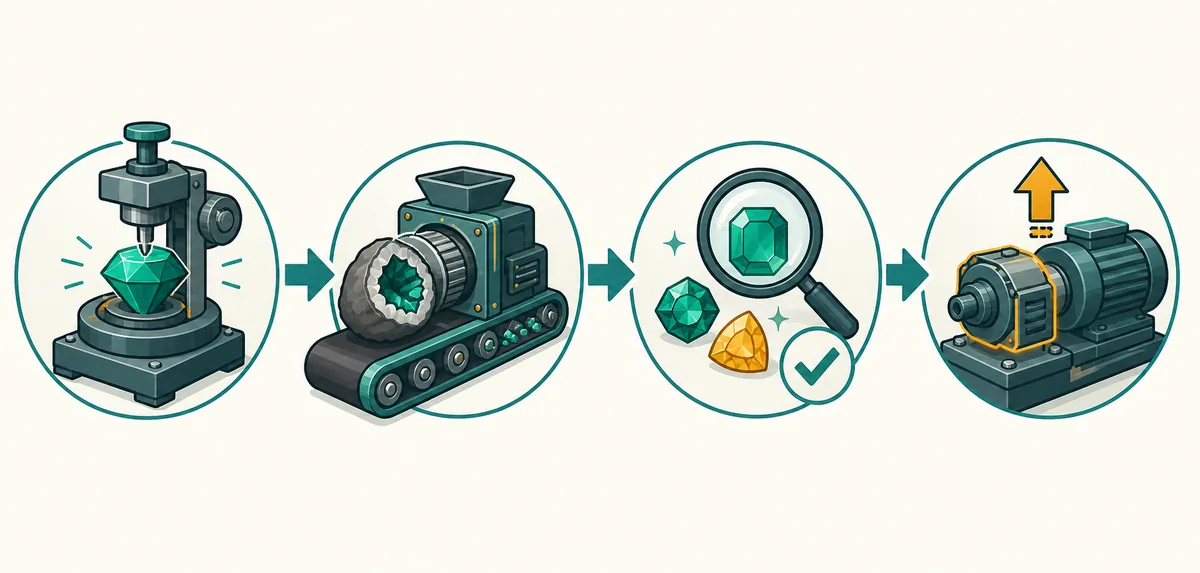
The most common mistake is trying to solve a late-game question during the first few minutes. A code page, Totem list, or Rebirth discussion can be useful later, but it does not replace a working production loop. The same applies to copied screenshots: they may come from another patch, account, or test setup. Treat them as leads and confirm the wording in your current game.
Pause before any reset or expensive commitment when the game does not explain what changes. Rebirth, item persistence, and boost rules can change. Read the full confirmation dialog, record the requirement and consequences, and leave an unknown item marked unknown. A careful pause is a valid beginner action because it protects the comparison you are building.
- Chasing rarity first — Use an affordable geode until one complete loop works.
- Buying by price — Name the blocked station before you spend.
- Copying old numbers — Check the current menu, date, and update context.
- Mixing code and gear intent — Use the Codes page for redemption questions and this route for first-session decisions.
- Resetting without notes — Read the confirmation and keep a short before-reset record.
Choose the next milestone after the first working run
Choose the next milestone after the first working run
Once you can process and sell a geode reliably, choose one next milestone. If the question is a redeemable reward, move to the Codes tracker and verify its date. If the question is equipment, compare the Gear guide with your bottleneck. If you need a material route, use the Moss Crystal, Verdant Shards, or Geodes pages. Keeping each question on its matching page avoids mixing a code reward with a production claim.
Rebirth belongs after you understand the current reset warning and have a rebuild plan. The goal of this beginner route is not to promise an optimal number. It is to give you a baseline: one working line, one observed bottleneck, and one next action you can explain. That baseline makes every later guide easier to test against your own account.
Cut a Gem beginner guide FAQ
Cut a Gem beginner guide FAQ
What should I do first in Cut a Gem Roblox?
Build one small line with the equipment your current shop allows, process an affordable geode, and confirm a buyer sale before expanding.
Which Cut a Gem upgrade should a beginner buy first?
Buy the item that removes the bottleneck you can observe over several cycles. The most expensive item is not automatically the best first upgrade.
Should I use rare geodes immediately?
Usually wait until the starter loop is stable. A rare geode can be a poor test if it is locked, expensive, or difficult to diagnose.
Does this page give an exact profit formula?
No. Public sources do not provide a complete verified formula, so the guide uses repeatable observations instead of invented multipliers.
When should a beginner think about Rebirth?
After the live Rebirth screen clearly states the requirement and consequences, and you have notes for rebuilding one reliable line.
Summary: make one loop work, then improve it
Summary: make one loop work, then improve it
A strong first Cut a Gem Roblox run is small and measurable. Build one line, process one affordable geode, watch the buyer step, and write down the station that limits the loop. Upgrade that step only after you can reproduce the result. Keep codes, item routes, Totems, and Rebirth on their focused guides so each decision has the right evidence.
The game can change with updates. Recheck live labels, requirements, and warnings on the day you play, and treat this route as a practical baseline rather than a permanent tier list.
Continue with the page that matches your next question:
Sources and scope
Sources and scope
The game identity and basic production loop are checked against the public Roblox experience listing. This page does not claim hidden formulas or permanent upgrade numbers; use the live UI for account-specific requirements.