
Updated August 2026
Cut a Gem Gear Guide: Gear Roles, Machines, and Upgrade Priorities
Looking for a Cut a Gem gear guide that helps you decide what to use next instead of repeating an unverified tier list? Start with the role of each workshop part. Cutting gear should make repeated runs more reliable, a grinder and conveyor should keep the geode-to-gem loop moving, and a totem should be treated as a situational modifier until its effect is confirmed in the current experience. The public game description supports the basic grinder, conveyor, geode, buyer-offer, and offline-production loop. It does not provide a complete official stat sheet for every gear item. This guide therefore gives a practical gear list by role, an upgrade order, a run checklist, and a clear boundary between source-backed facts and recommendations.
Quick answer
Quick answer
For most early Cut a Gem runs, stabilize the part that is preventing a repeatable workshop cycle before chasing a rare-looking upgrade. Use gear that helps your cuts stay consistent, confirm that the grinder and conveyor can process the geodes you can actually afford, then compare visible purity and buyer value before spending on another machine. A code reward can change the next purchase, but it should not replace a gear decision based on the current bottleneck. The public sources checked for this page do not verify a universal best gear item, exact multipliers, or a fixed profit formula, so the safest answer is a role-first decision process that you can re-check after an update.
Cut a Gem Gear Guide: what gear means
Cut a Gem Gear Guide: what gear means
In a small Roblox simulator, gear is easy to misunderstand because players use one word for several different systems. A cutting tool, a grinder, a conveyor, a geode, a totem, and a code reward can all affect the next run, but they do not solve the same problem. A useful Cut a Gem gear list should therefore answer two questions: what role does the item play, and what evidence shows that it is helping? A name or rarity color alone is not enough.
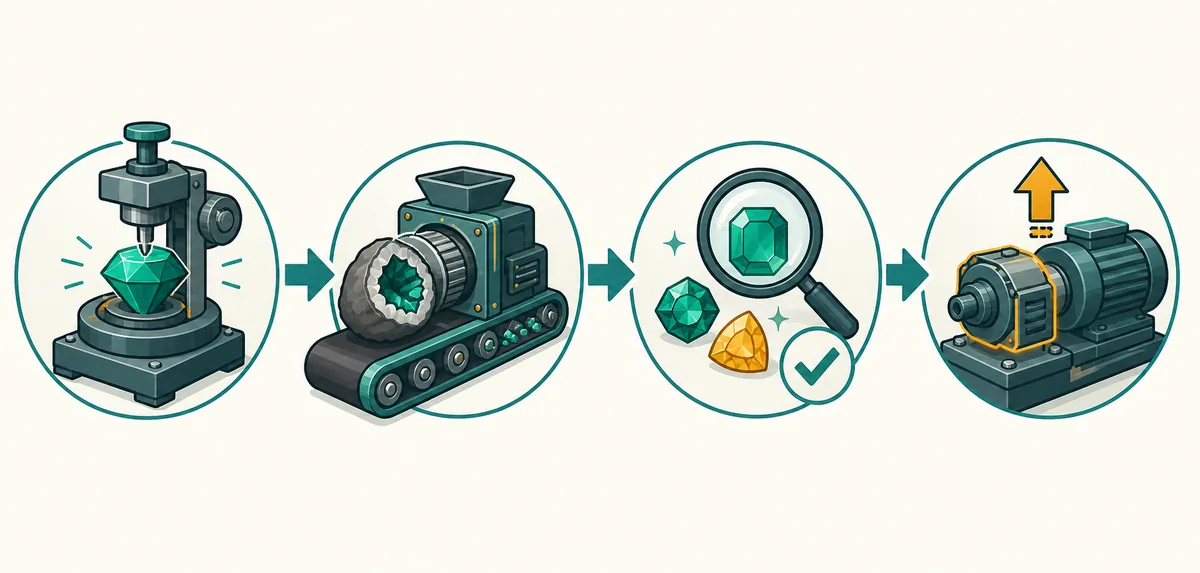
The current public game description gives a reliable high-level loop: place a grinder and conveyor belt, grind geodes into gems, accept the highest buyer offer, and continue producing while the machines run offline. That description is enough to explain why workshop flow matters. It is not enough to claim that a particular item has a guaranteed drop bonus, a fixed purity multiplier, or the best cash-per-minute value. Those claims need a current in-game test or a dated source that exposes the exact data.
Think of gear as a system rather than a shopping list. If the cut itself is inconsistent, a better cutting role matters first. If raw geodes sit unused, the machine loop is the bottleneck. If the loop works but the output is hard to compare, record purity, rarity, and the visible buyer offer before upgrading. This keeps a gear guide useful even when an update changes names, prices, or hidden values.
Gear roles and the workshop loop
Gear roles and the workshop loop
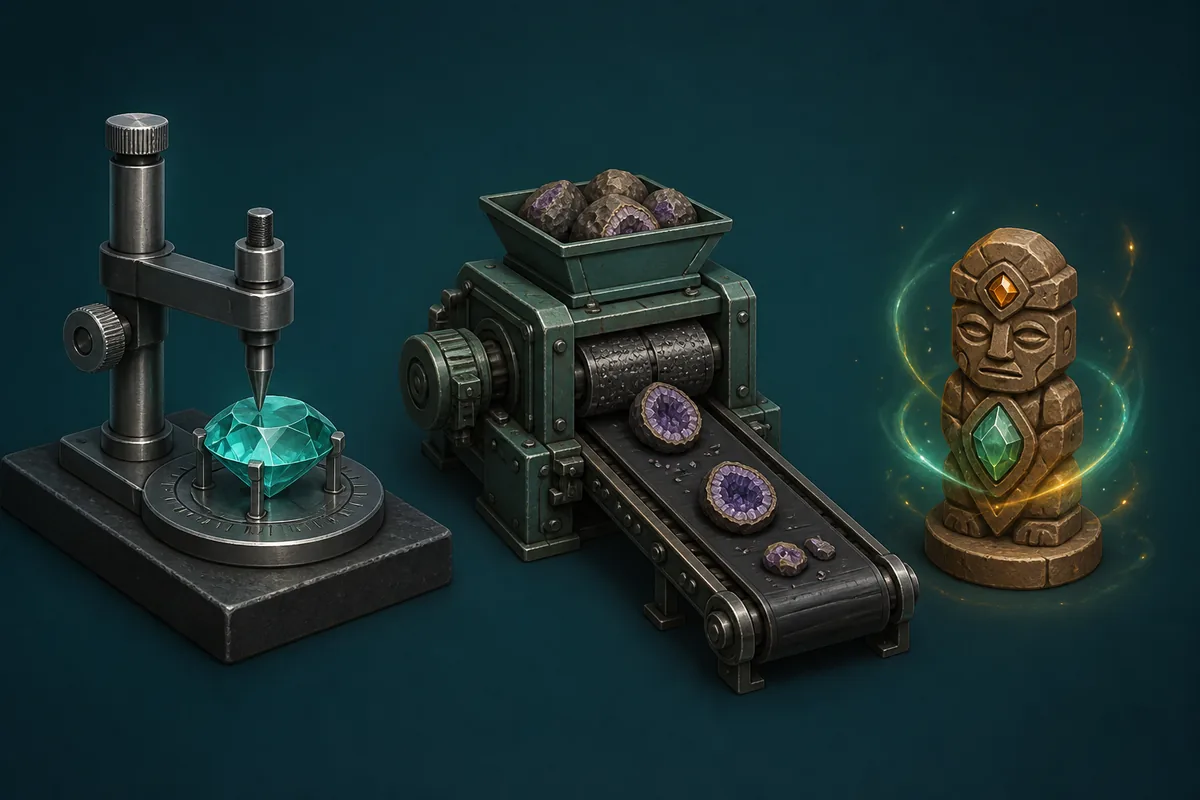
The table below is a role-based gear list. It separates documented game-loop elements from cautious recommendations, so you can use it even when an exact tier list is not publicly verified.
| Role | What it covers | When it matters | Evidence boundary |
|---|---|---|---|
| Cutting gear | Tools or bonuses that affect the cutting step | When repeated cuts fail or output varies | Compare visible results; do not assume an undocumented multiplier |
| Grinder and conveyor | The machine path that processes geodes | When raw geodes are waiting or the workshop stalls | The public game description supports this loop; exact speed stats still need checking |
| Geodes | The input you choose to process | When you are deciding between a safe run and a rare-result attempt | Record type, purity, and output; visual rarity is not a guarantee |
| Totems | Situational modifiers or boosts | When the current run has a clearly documented effect | Treat unverified effects as a test hypothesis, not a promise |
| Code rewards | Cash, gear, machines, totems, or materials from redemption | When a recent reward changes what you can buy next | Use the separate codes page and a dated source check |
How to choose the next Cut a Gem upgrade
How to choose the next Cut a Gem upgrade
Use this order when several upgrades look attractive. It is a decision aid, not a hidden game formula, and it keeps the question focused on the next repeatable run.
-
1. Stabilize the cut
Run the same affordable input more than once and look for a repeatable result. If a cutting action fails, varies wildly, or consumes resources without producing a comparable gem, improve that role before investing in a machine that only increases throughput. Record what changed so you can tell an upgrade effect from normal variation.
-
2. Remove the workshop bottleneck
Watch where the loop stops. A grinder that never receives a geode, a conveyor that cannot support the next step, or a machine that sits idle is a stronger signal than a vague feeling that an item looks outdated. Upgrade the part that is blocking the most completed cycles, not automatically the item with the highest displayed rarity.
-
3. Compare output before price
For two comparable runs, write down the geode type, purity, result, and visible buyer offer. A more expensive machine may be useful, but the guide cannot call it best without a current cost and output comparison. The comparison is especially important after a code reward because free cash can make a rushed upgrade feel better than it is.
-
4. Test one variable at a time
Do not change gear, geode, machine, and totem together. If you make four changes and receive a better result, you cannot tell which change helped. Keep the same input where possible, change one role, and note the session date and update context. This is a simple way to turn community advice into a useful personal test.
-
5. Treat totems as conditional
A totem can be worth using when its effect is visible and relevant to the run. Until the current game or a dated source confirms the exact effect, do not build a permanent upgrade order around it. Mark it as experimental and compare a run with the modifier to a similar run without it.
-
6. Re-check after updates
Roblox simulator economies can move quickly. Revisit the game, the official experience identity, the source date, and the visible result after a major update. A gear guide that carries an old tier list without a date is less useful than a shorter guide that tells you how to verify the current state.
Run-by-run gear checklist
Run-by-run gear checklist
Use this short checklist before spending a rare resource or assuming that a new item is better.
| Check | Record | Why it helps | Avoid |
|---|---|---|---|
| Input | Geode type and affordability | Makes two runs comparable | Comparing a cheap test with a rare one |
| Cut | Tool used and whether the result repeated | Shows whether the first bottleneck improved | Calling one lucky result a multiplier |
| Machine | Grinder, conveyor, and idle points | Identifies the part blocking production | Upgrading a machine that is not used |
| Output | Purity, rarity, result name, buyer offer | Connects gear choice to visible value | Inventing a fixed price from one screenshot |
| Context | Update date, code reward, totem, session | Explains why two reports differ | Treating an old guide as current data |
What this gear guide verifies and what it does not
What this gear guide verifies and what it does not
Verified for this page: the game identity is tied to the official Roblox experience, and the public game description captured by Creator Exchange describes a grinder, conveyor belt, geode processing, buyer offers, and offline production. The repository source ledger also records a public community gear guide as a planning source. These sources justify the role-based structure and the practical checks in this article.
Not verified for this page: a complete official gear database, permanent best-in-slot ranking, exact machine multipliers, exact totem effects, drop odds, or a universal profit formula. The absence of a public number is not permission to fill it with a guess. Use the official experience and the visible result in your own run as the next evidence layer.
This page is an independent fan guide, not a developer announcement. It is intentionally narrower than a codes page: code status and redemption belong on the separate Cut a Gem codes guide, while item acquisition questions such as Moss Crystal belong on their own route page. That separation keeps each URL focused and reduces keyword cannibalization.
FAQ about Cut a Gem gear
FAQ about Cut a Gem gear
What is the best gear in Cut a Gem?
There is no single source-verified best item in this guide. Start with the gear role that fixes the current bottleneck, compare repeated outputs, and re-check the result after updates instead of trusting an undated tier list.
What should I upgrade first in Cut a Gem?
Stabilize the cutting step, then remove the machine bottleneck, then compare purity and buyer value. The right order can change with your resources, geodes, and current workshop state.
Are grinders and conveyors considered gear?
Players may group them under workshop gear, but they serve a different role from cutting tools. The public game description supports the grinder-and-conveyor processing loop, while exact speed or profit stats still require current evidence.
Should I use a totem on every run?
Only when the effect is visible and relevant. If the current effect is not source-checked, treat the totem as a controlled experiment and record a comparable run without it.
Can a Cut a Gem code replace a gear upgrade?
A code reward can change your budget, but it does not prove which upgrade is best. Redeem a recent, source-checked code on the separate codes page, then spend the reward on the role that blocks your next completed cycle.
Does higher purity always mean more profit?
Do not assume it without current data. Record purity alongside the visible buyer offer and compare similar inputs. A single high-purity result is evidence to investigate, not a permanent formula.
Is this an official Cut a Gem gear list?
No. This is an independent fan guide. It links the official Roblox experience for identity, labels community coverage as third-party, and does not present concept visuals as real gameplay screenshots.
Summary
Summary
The practical Cut a Gem gear guide answer is to upgrade by role and bottleneck: stabilize the cut, keep the grinder-and-conveyor loop moving, compare purity and buyer value, and change one variable at a time. This method remains useful when item names, costs, or hidden values move after an update.
Use the official Roblox experience and dated public sources for verification, the separate codes guide for volatile rewards, and the Moss Crystal route for item-acquisition checks. When an exact stat is not published, a careful test log is more trustworthy than a copied number.
Use the homepage for the broader workshop planner, the codes page for source-checked rewards, and the Moss Crystal route for item-acquisition checks.
Sources and limits
Sources and limits
These sources support the experience identity, workshop loop, and planning context. They do not establish a permanent best-in-slot ranking or hidden formula.